With vSphere7 fundamental changes in the structure of the ESXi boot medium were introduced. A fixed partition structure had to give way to a more flexible partitioning. More about this later.
With vSphere 7 Update 3 VMware also brought bad news for those using USB or SDCard flash media as boot devices. Increasing read and write activity led to rapid aging and failure of these types of media, as they were never designed to handle such a heavy load profile. VMware put these media on the red list and the vSphere Client throws warning messages in case such a media is still in use. We will explore how to replace USB or SDCard boot media.
ESXi Boot Medium: Past and Present
In the past, up to version 6.x, the boot medium was rather static. Once the boot process was complete, the medium was no longer important. At most, there was an occasional read request from a VM to the VM Tools directory. Even a medium that broke during operation did not affect the ESXi host. Only a reboot caused problems. For example, it was still possible to backup the current ESXi configuration even if the boot medium was damaged.
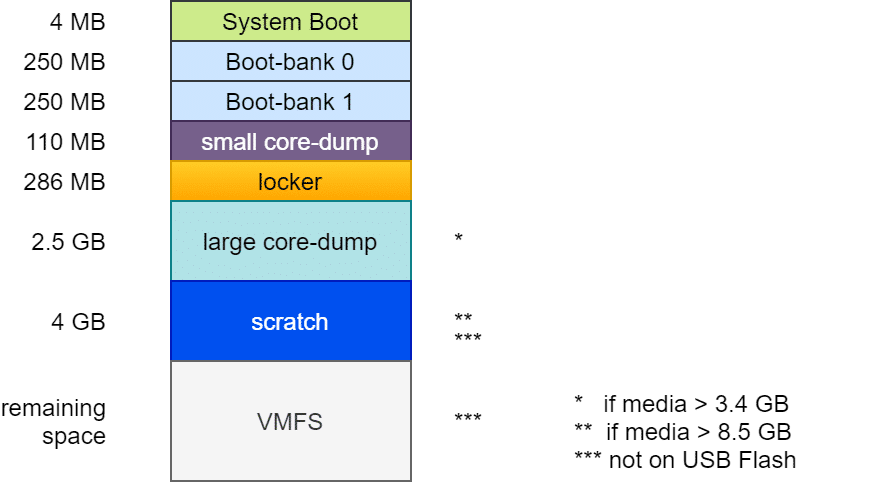
Layout of the boot media up to ESXi 6.7
In principle, the structure was nearly always the same: A boot loader of 4 MB size (FAT16), followed by two boot banks of 250 MB each. These contain the compressed kernel modules, which are unpacked and loaded into RAM at system boot. A second boot bank allows a rollback in case of a failed update. This is followed by a “Diagnostic Partition” of 110 MB for small coredumps in case of a PSOD. The Locker or Store partition contains e.g. ISO images with VM tools for all supported guest OS. From here VM tools are mounted into the guest VM. A common source of errors during the tools installation was a damaged or lost locker directory.
The subsequent partitions differ depending on the size and type of the boot media. The second diagnostic partition of 2.5 GB was only created if the boot medium is at least 3.4 GB (4MB + 250MB + 250MB + 110MB + 286MB = 900MB). Together with the 2.5 GB of the second diagnostic partition, this requires 3.4 GB.
A 4 GB scratch partition was created only on media with at least 8.5 GB. It contains information for VMware support. Anything above that was provisioned as VMFS data store. However, scratch and VMFS partition were created only if the media was not USB flash or SDCard storage. In this case, the scratch partition was created in the host’s RAM. With the consequence that in the event of a host crash, all information valuable for support was lost as well.
Structure of the boot media from ESXi 7 onwards
The layout outlined above made it difficult to use large modules or third-party modules. Hence, the design of the boot medium had to be changed fundamentally.
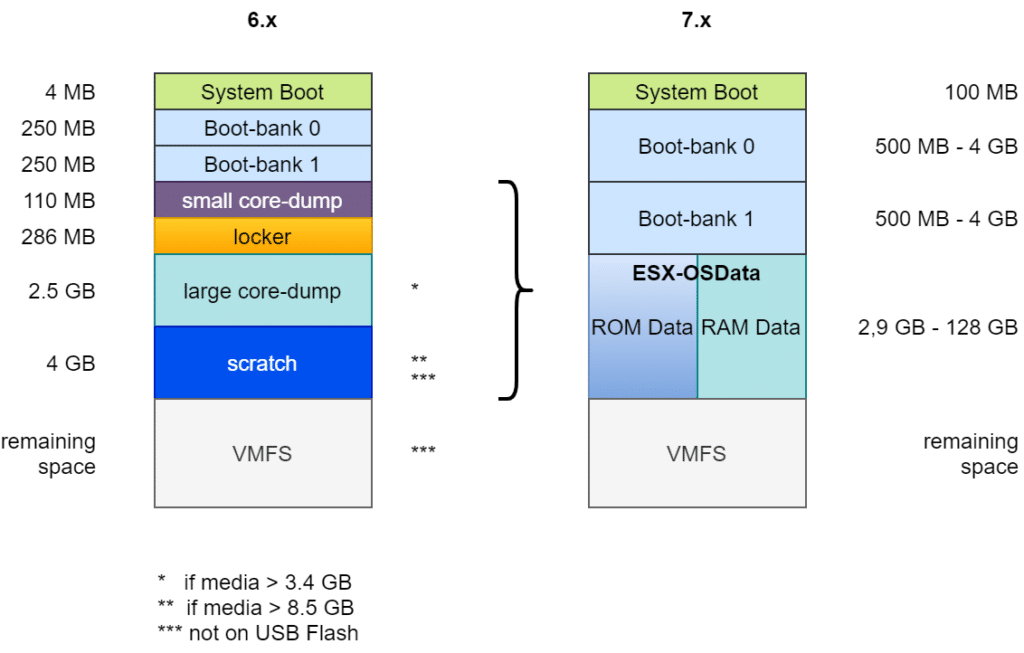
First, the boot partition was increased from 4 MB to 100 MB. The two boot banks were also increased to at least 500 MB. The size is flexible, depending on the total size of the medium. The two diagnostic partitions (Small Core Dump and Large Core Dump), as well as Locker and Scratch have been merged into a common ESX-OSData partition with flexible size between 2.9 GB and 128 GB. Remaining space can be optionally provisioned as VMFS-6 datastore.
There are four different boot media size classes in vSphere 7:
- 4 GB – 10 GB
- 10 GB – 32 GB
- 32 GB – 128 GB
- > 128 GB
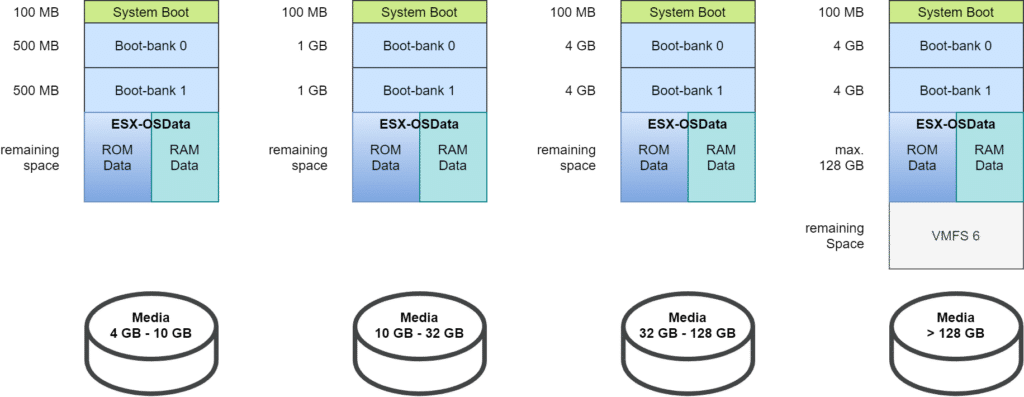
The partition sizes shown above are for freshly installed boot media on ESXi 7.0, but what about boot media migrated from version 6.7?
Migrated legacy assets
For this purpose I will look at a host of my Homelab. It has a 16 GB SATA DOM boot medium. The manufacturer of the medium is SuperMicro.
ls /dev/disks -lh | grep SuperMicro

We can see five partitions: one 100 MB partition, two times 500 MB, as well as 6.3 GB and 7.4 GB. This does not fit correctly into the picture above. Accordingly, a boot medium with a capacity of 16 GB should be divided into four partitions with one 100 MB, two times 1 GB for the boot banks, and about 12.7 GB for OSData.
Information about the file system can be retrieved with the command:
esxcli storage filesystem list

Besides the two (undersized) bootbanks, there is also a VMFS volume named “esx2_local”. So the explanation is quite obvious. Under ESXi 6.7, the SATA DOM (16 GB) was partitioned in the old way:
- 4 MB System Boot
- 250 MB Bootbank 0
- 250 MB Bootbank 1
- 110 MB Small Coredump
- 286 MB Locker
- 2.5 GB Large Coredump
- 4 GB Scratch
The remaining 7.4 GB was formatted as a VMFS partition. Although all partitions on the boot medium are deleted and reformatted during migration, this does not apply to VMFS datastores. These are not touched (for a good reason). Consequently, only a storage area of less than 10 GB was available for the new patitioning. To deal with this case, only small boot banks of 500 MB each are created.
What now?
The only practical solution is to back up the configuration and to rebuild the boot media. The host is part of a 4-node vSAN cluster. To ensure that nothing goes wrong here, we put the host into maintenance mode with the “full data migration” option. This ensures that the host is absolutely empty. We delete the local VMFS datastore esx02_local from the vSphere Client.

Backup Host Configuration
Once the host is completely cleared and has entered maintenance mode, we can backup the configuration with PowerCLI.
Connect-VIserver <hostname>
Get-VMhost | Get-VMHostFirmware -BackupConfiguration -DestinationPath "C:\temp"
The host configuration is stored in the target path (here c:\temp) as a tgz file. The file name is configBundle-<fqdn>.tgz. For example configBundle-esx03.lab.local.tgz
It is necessary to reformat the host completely. For this purpose, we use an ESXi boot image that comes closest to the patch level of the host. In our case, the host to be re-formatted is on ESXi 7 Update 3, so we will also use the official VMware ESXi boot media (ISO) version 7U3. (Note: The image 7U3 that we used has been withdrawn by VMware, but it works fine in my lab and fixed some issues).
Setup ESXi
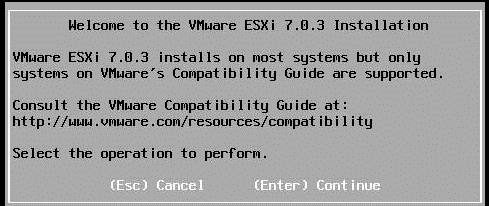
The ISO is staged via iPMI / iLO / iDRAC and started using the boot menu. The following section corresponds to a new ESXi server installation. The steps are only shown for reasons of completeness.
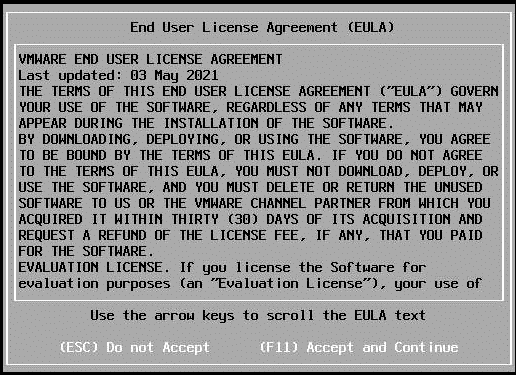
Read the EULA completely, then print it out, frame it, hang it on the wall and confirm it with F11.
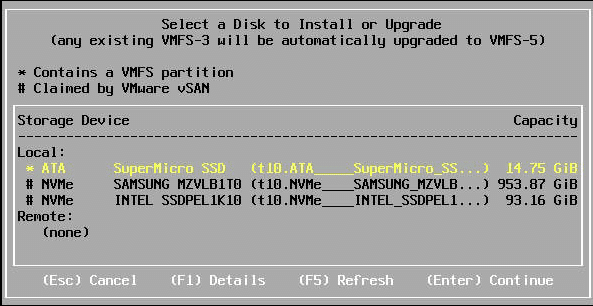
ESXi Setup correctly detects that two of the three media present in the host are already claimed by vSAN. The local SATA DOM SuperMicro SSD is correctly preselected as the setup target.
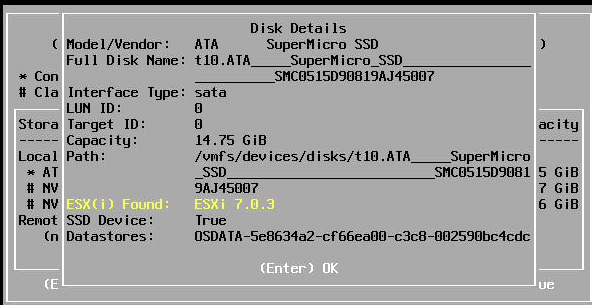
With F1 we get additional information about the selected disk. There is already an (old) ESXi installation on it, but we want to change it and so we need to reformat it.
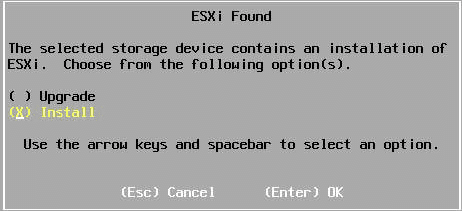
At this stage, it is important to use the Install and not the Upgrade option, because we want to achieve a repartitioning.
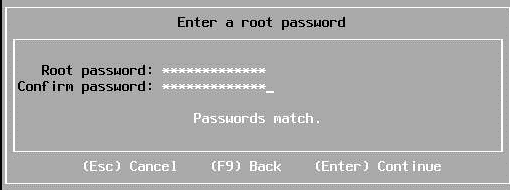
The password you choose now is not required to be the same as the original one. It is for temporary use only.
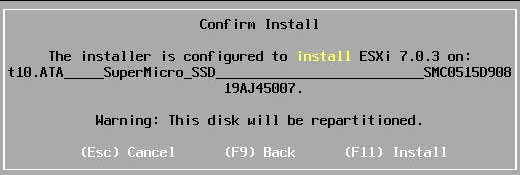
Prior to the installation, we need to confirm again that we want to overwrite the media.
Before rebooting, the media must be unmounted through iPMI in order to make the host boot into the new installation on next reboot.
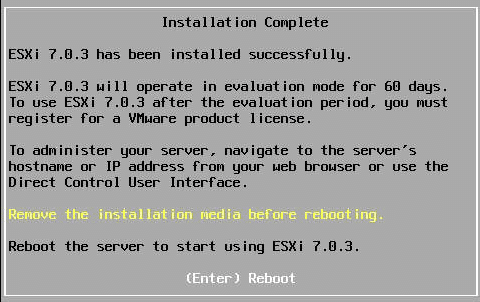
The freshly installed ESXi server received an IP address via DHCP here. If no DHCP server is available, the host must be assigned a temporary IP address through the DCUI.
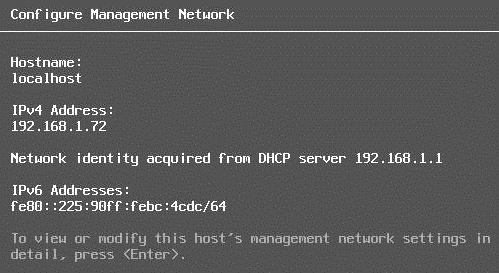
This host’s only configuration is the management network with IP address and gateway (DHCP), and a password for the root user. However, this is sufficient for the next step. We will connect to the temporary management address of the host with PowerCLI.
Connect-VIserver <Host IP>
We will use the root password that we have assigned during setup.
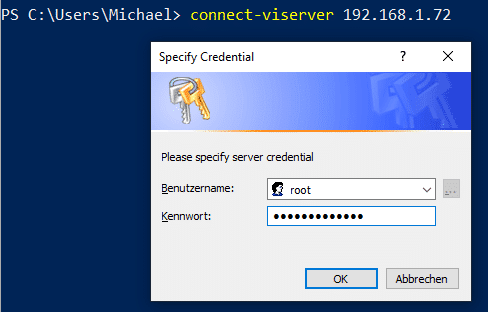

Before we can restore the original configuration, we need to put the host into maintenance mode.
Set-VMHost -VMHost 192.168.1.72 -State "Maintenance"

Optional: Installation of extra VIBs
If additional kernel services were active on the ESXi besides the plain ESXi and additional VIBs are necessary for this, these must be deployed now. This is particularly important when using NSX-T. If a restore is made here without prior installation of the NSX-T VIBs, the restore will fail and the host will not be manageable.
Configuration Restore
If all additional VIBs are in place (if required), you can now start the restore process.
Set-VMHostFirmware -VMHost 192.168.1.72 -Restore -SourcePath "c:\temp\2021-11-23\configBundle-esx02.lab.local.tgz"

The command requires a root user login.

Immediately after login, the configuration is imported and a reboot is triggered without confirmation.
The host regains the original configuration after reboot, including all passwords, IP addresses, network settings, and object IDs.
