Part 2 of the upgrade
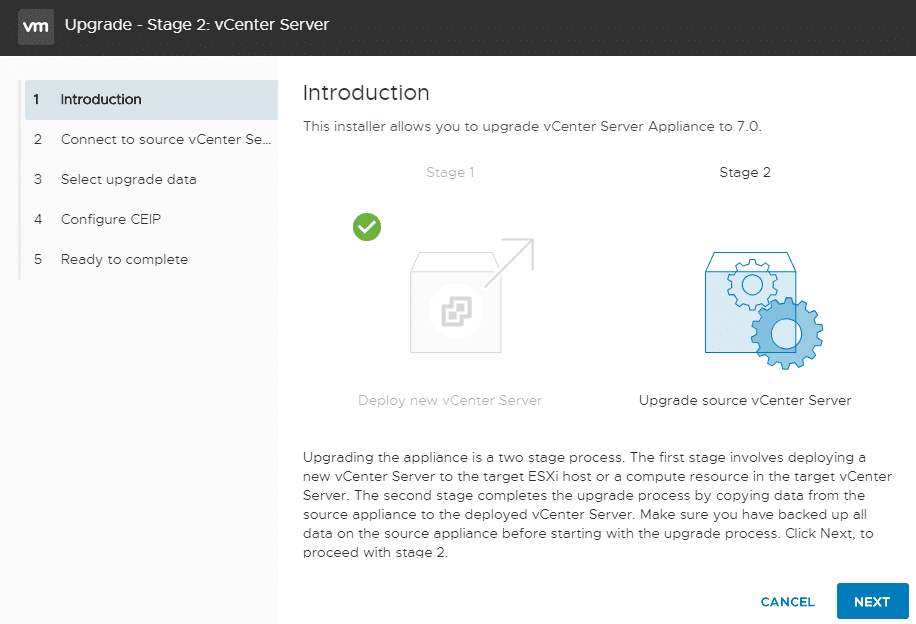
The installer will perform a series of pre checks before starting.
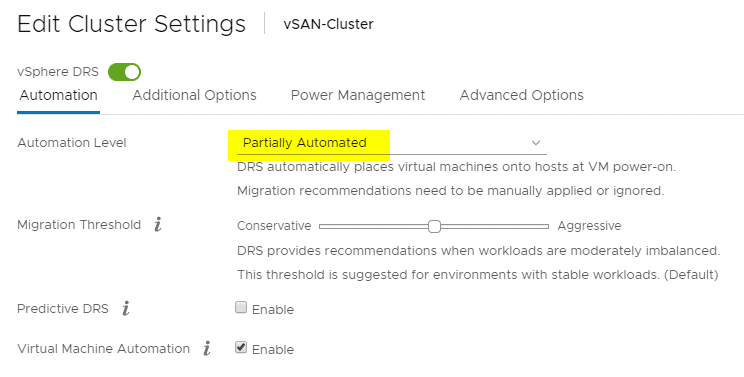
In my case I’ve forgot to set DRS to “manual” or “partially automated”.

You can fix potential problems before resuming.
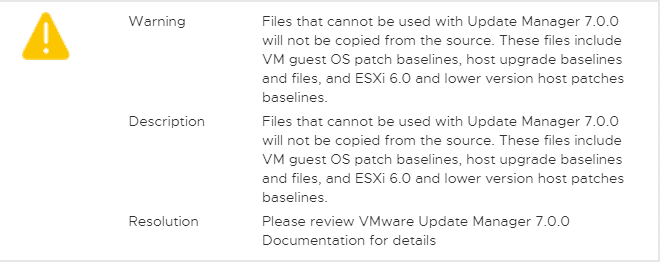
Some more warnings about VUM baselines. It’s not a show stopper. Check if these baselines are important. If not, you can resume.
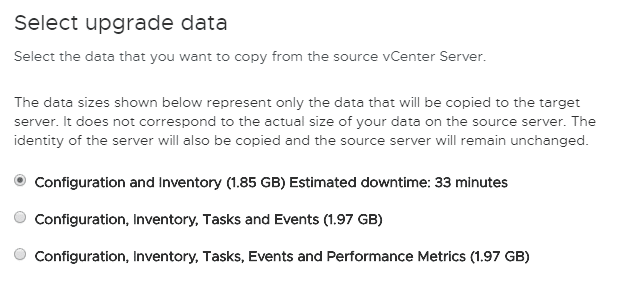
You can choose what to import into the new appliance. I usually dont care about past events and performance metrics. If you decide to import them the import procedure will take a little bit longer.
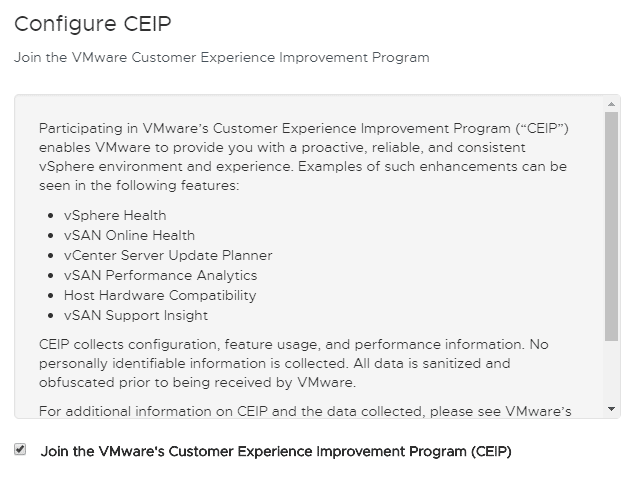
Taking part in the VMware Customer Experience Improvement Program (CEIP) will enable Skyline-Health on the cluster. It can provide information about possible issues in your configuration. Taking part in CEIP also meeans sending data to the cloud. Check with your security policy before enabling this feature.
Although VMware has a very transparent privacy policy, you may not forget that as an US based company it falls under jurisdiction of the Cloud Act which may conflict with Art. 48 of GDPR/DSGVO regulations. Please check KB71071 to get more information about the data that will be sent to VMware.
In my homelab there’s no privacy sensitive data, so I will join CEIP and have the ability to use Skyline Health.
Review the settings and confirm that you have backed up your vCenter database. It can be a VM snapshot, a replicate or any other kind of backup.
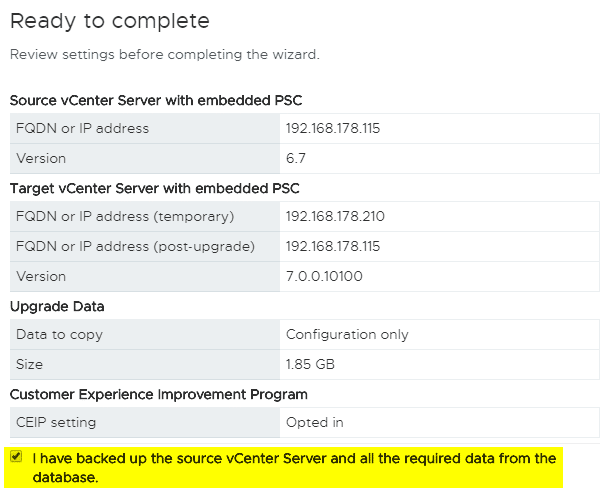
Be aware that vCenter will not be available for a period of time. Take into consideration services that may rely on vCenter. For example VDI environments or backup jobs.
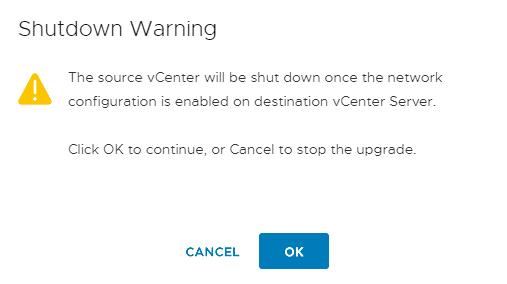
Now data will be transferred from old vCenter to new vCenter. Get a cup of coffee or tea and wait.
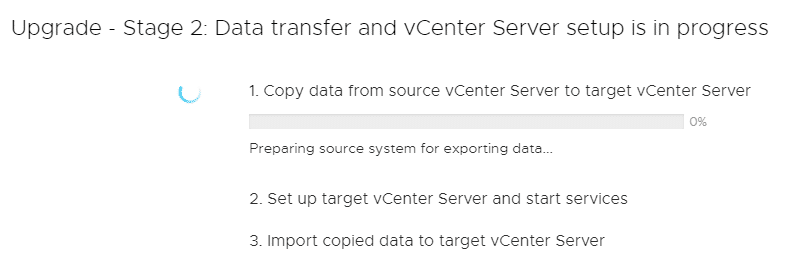
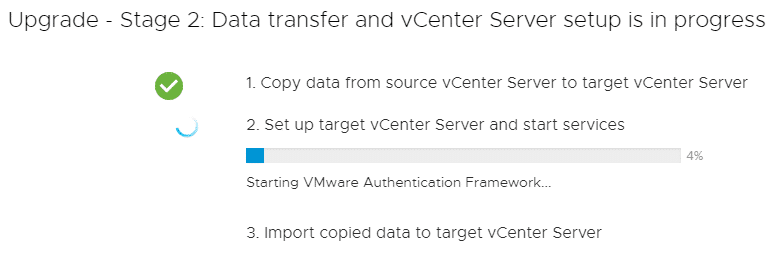
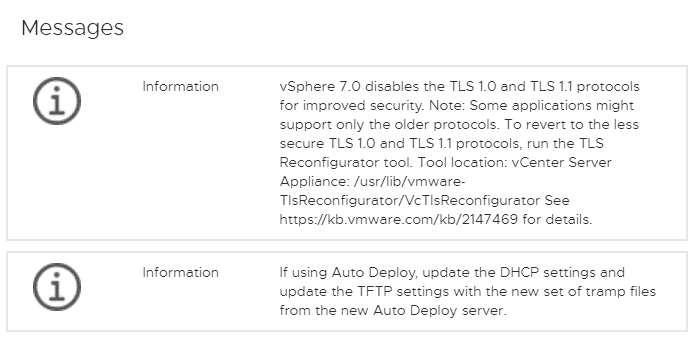

Congrats! You made it! Login to your new vCenter appliance with your old credentials.
